Showing posts with label armor. Show all posts

Wednesday, June 22, 2011

Video: Garrus (Mass Effect 2)


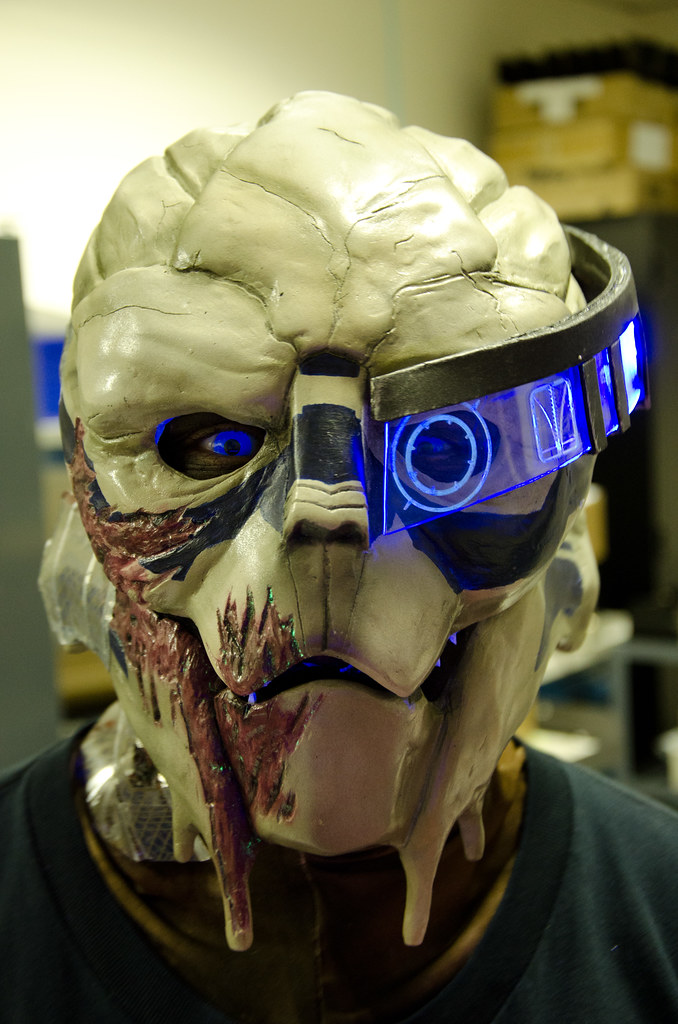
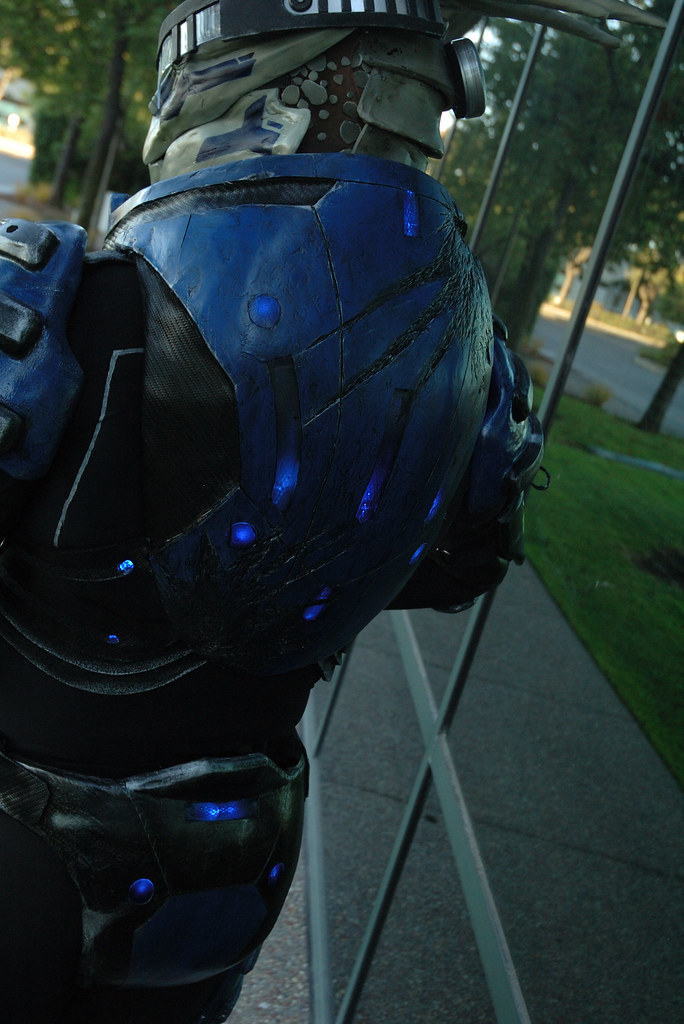
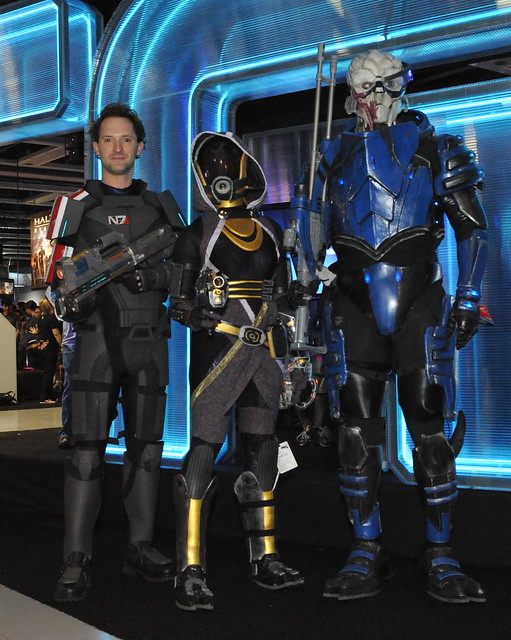
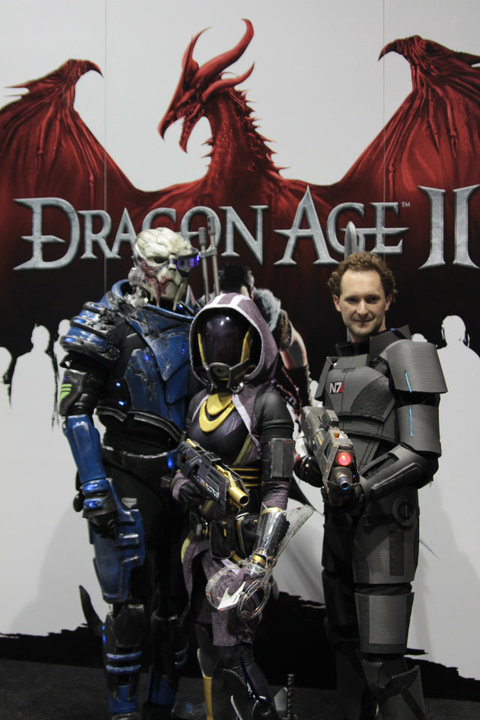
Garrus (Mass Effect 2) costume made by Robert Rodgers of My Wicked Armor
"This Garrus project was a bit more difficult than I thought it would be. The costume has at least 75 LED’s on/in it! But the lighting is one of the things that attracted me to this costume. I especially enjoyed the eye gear. Photos and videos just do not capture how neat the eye piece looks. I think the whole costume requires nine 9V batteries if you want the lights to work for a few hours. Fortunately, the armor is very lightweight, including the massive chest piece which I designed to split into two pieces for shipping and transport. And I am aware that Garrus does not have a tail- I just forgot to attach the butt plate strap before the video."

Thursday, June 16, 2011

Iron Man's Work Day


Wang Kang, a run-of-the-mill office dude working in Shanghai, had a dream: He wanted to go to work dressed as Iron Man. So one day, he woke up and started working on his costume, and 3 months later, he had a perfectly awesome-looking, 50-kilogram suit made from high density foam and wires, ready to terrorize his work colleagues. Check him out below as he walks through his office, ready to blast anyone away at the first offense.

You can see more work in progress pictures of the suit and his other projects at his website.

Source: The UK Metro

Tuesday, May 31, 2011

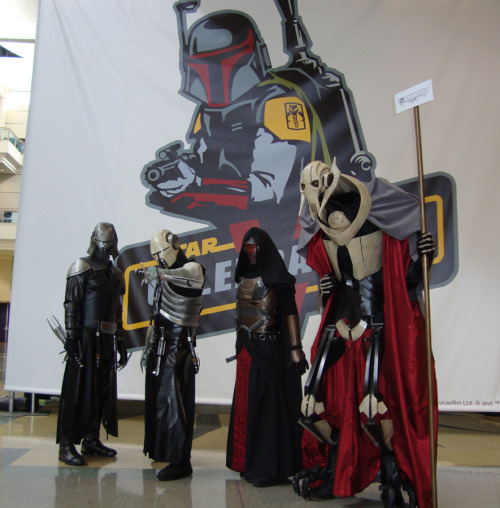
Sith Armor


Sith Armor by Robert Rodgers aka MyWickedArmor
Taken at Star Wars Celebration V


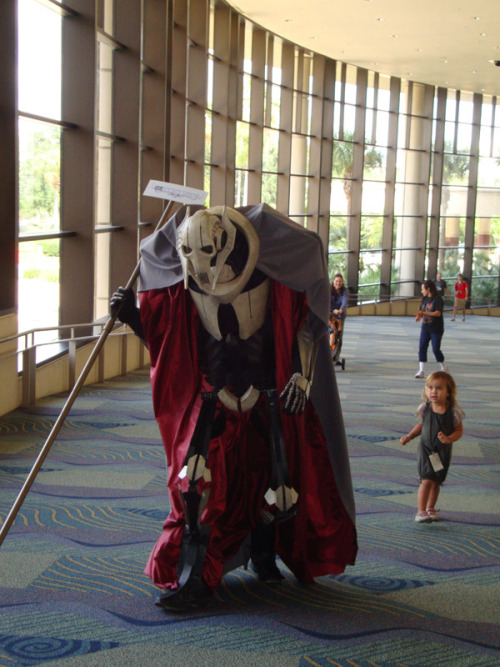
General Grievous

Thursday, May 19, 2011

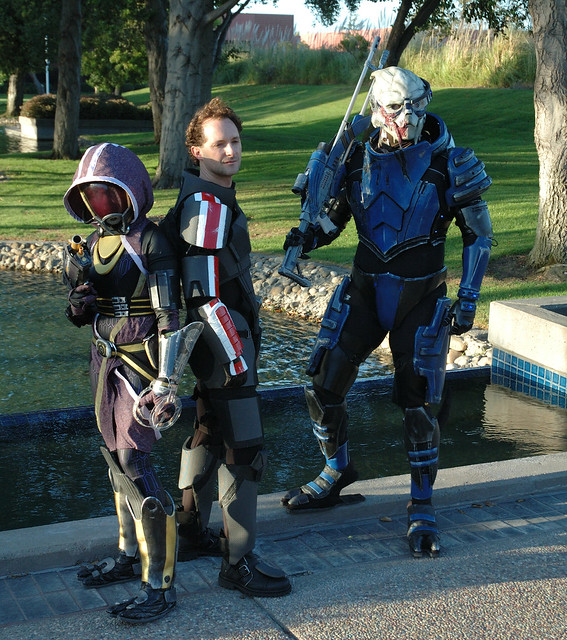
Garrus Vakarian


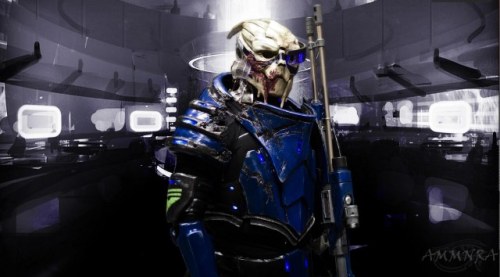
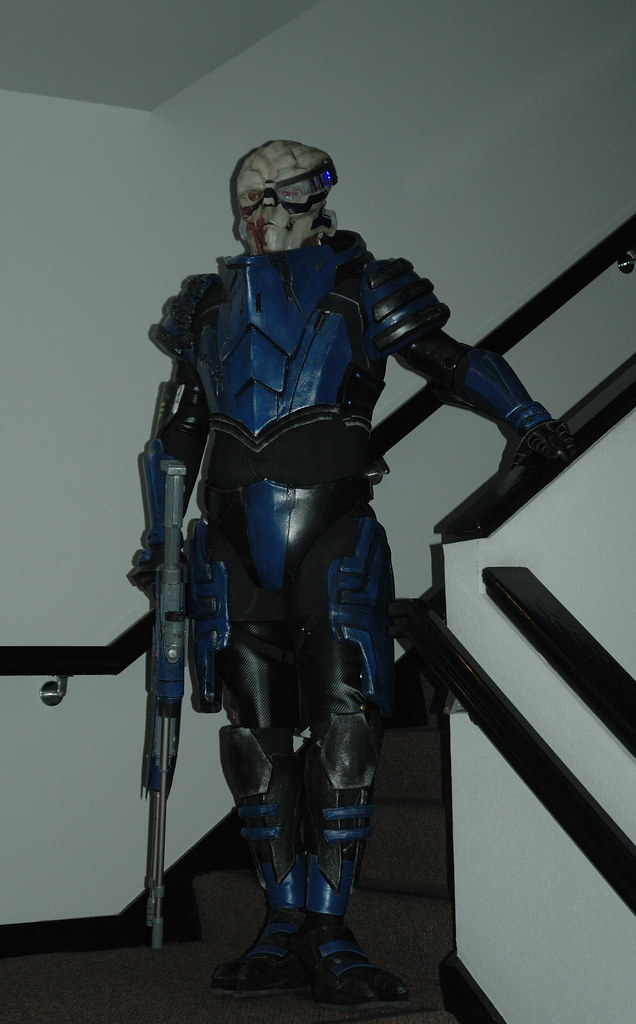
Garrus Vakarian (from Mass Effect) by Chris Myles
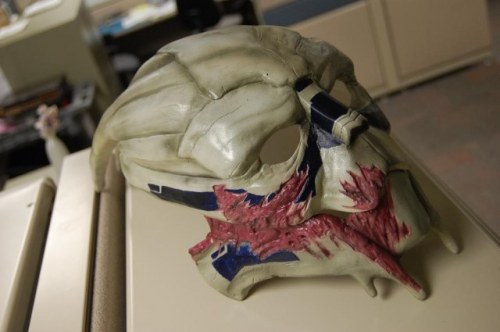
I hand carved the scars and then spray painted the whole thing. I airbrushed in the scars, details and shadows and hand painted on the "war paint." Visor made of craft foam and a hand cut/heat bent PET strip and 2 LEDs with super glued on Objet(Eden 350) icons.

Armor:
Made from armature wire/mesh, upholstery foam, plaster, and fiber glass resin.

Since this was my first attempt at armor, I tried a hand full of different methods on each section of armor. Method that worked the best was an under form of mesh/armiture with streched foam on top. Mix (1:1ish) Modge Podge with flexable Joint Compound to make thick MP and coat foam. Light sanding, paint and distress to finish. Armor looks hard but is still kinda foamy. For really flexable armor just use foam coated with flexable glue. Light sanding, paint, yada-yada...

Lighting system has 5 channels with 8 modes (no fancy micro controllers, just a hacked LED christmas light set). 59 (49 blue and 10 for the UV face lighting) LEDs in the armor (Hooray 19 hours of wiring/soldering!)

Check out Ammnra's "How I Did It" Costume Video, his Cosplay.com gallery, and his Flickr gallery.